Step by step Testnet Guide
The Guide will contain the following:
*If there is any issues or questions regarding testnet setup you can ask your questions in our Telegram Group Chat! BiHutNetworks Telegram Group
Fresh Setup:
After Installation of the Anchor Wallet you should get the following on first boot:
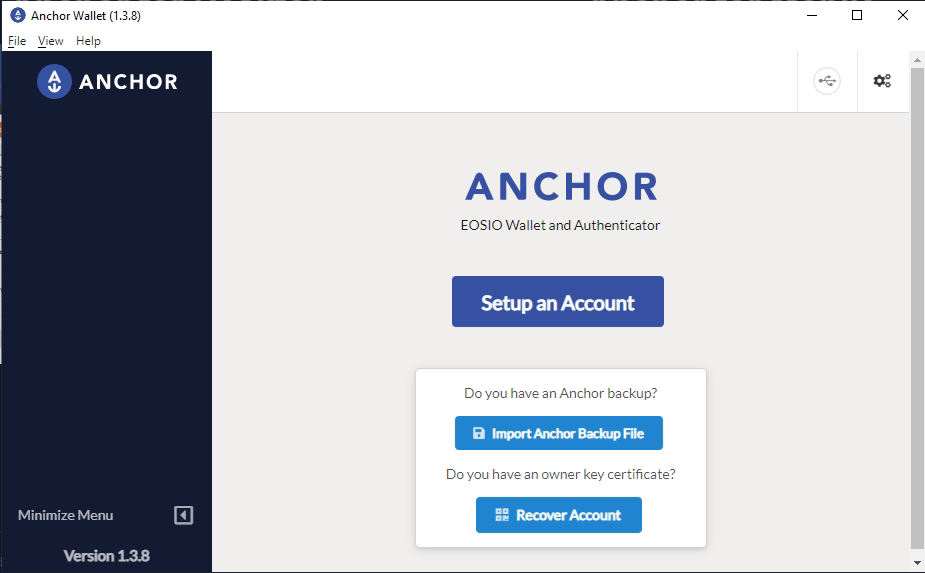
After Clicking the Setup an Account button you get a trigger to enter password:
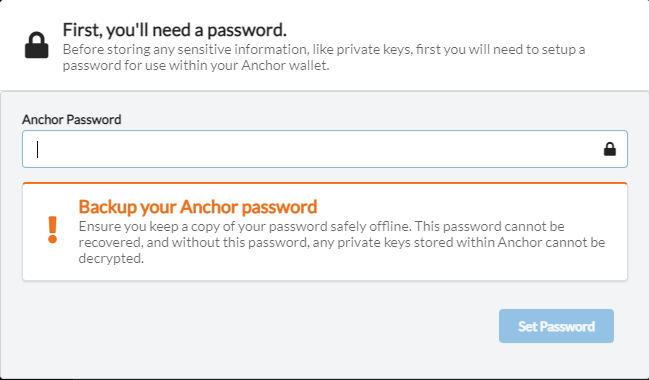
Make sure you use a safe password that you remember. This Password will be used as a security to access your wallet. Make it a good one and keep it safe !
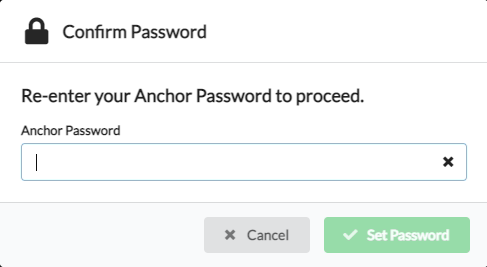
After the comfirmation of the password of your choice we get to the following screen:
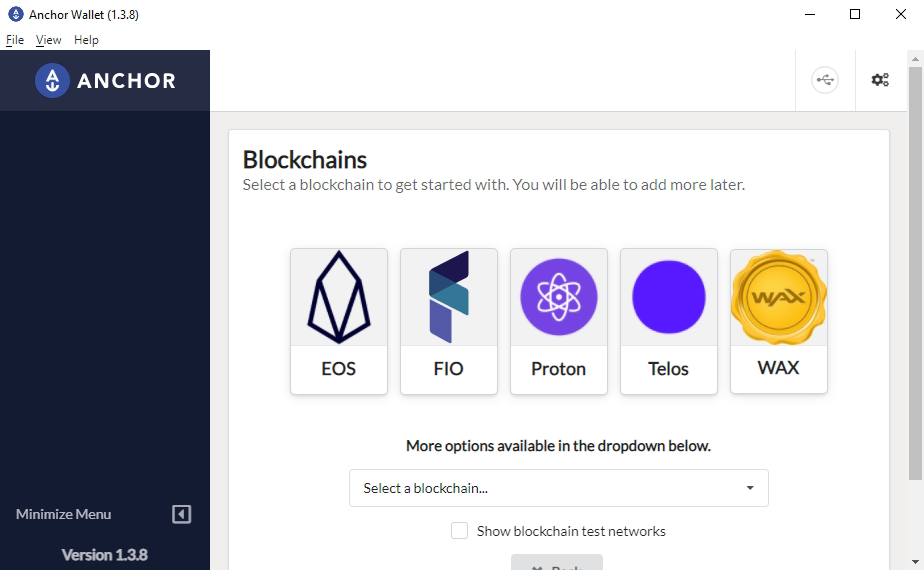
Here we want to press the tiny box next to "Show blockchain test networks" then in the selection box find WAX (testnet).
this will take you directly to this screen:
Now we can create a testnet account using the form below:
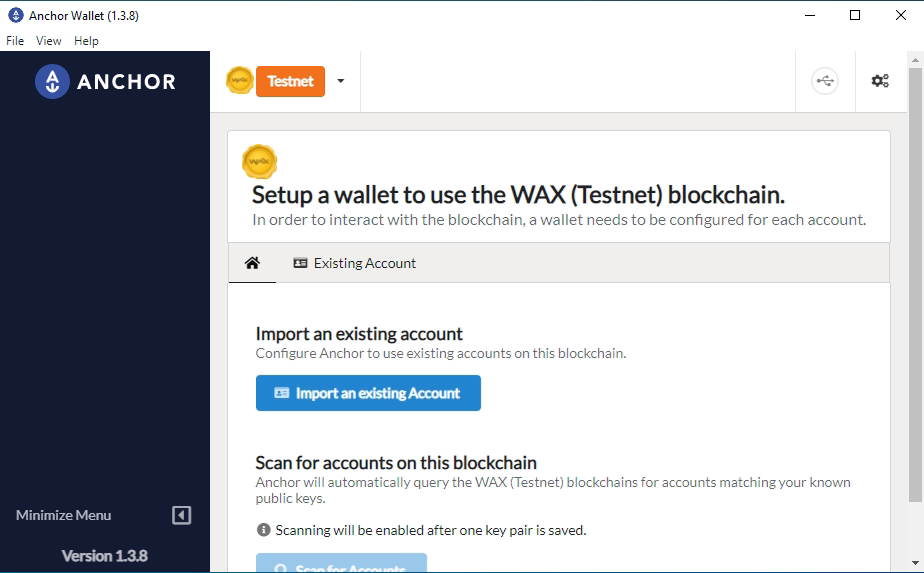
After getting us a set of private keys we can press the Import an existing Account !
We should be shown this page:
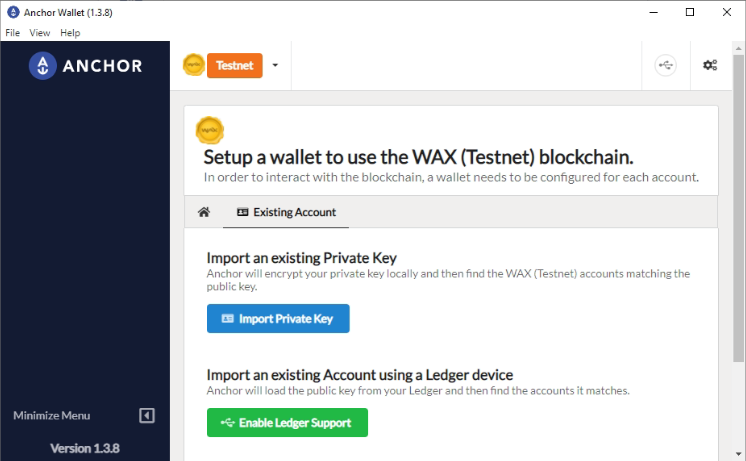
Here we press Import Private Key ! And we get this screen:
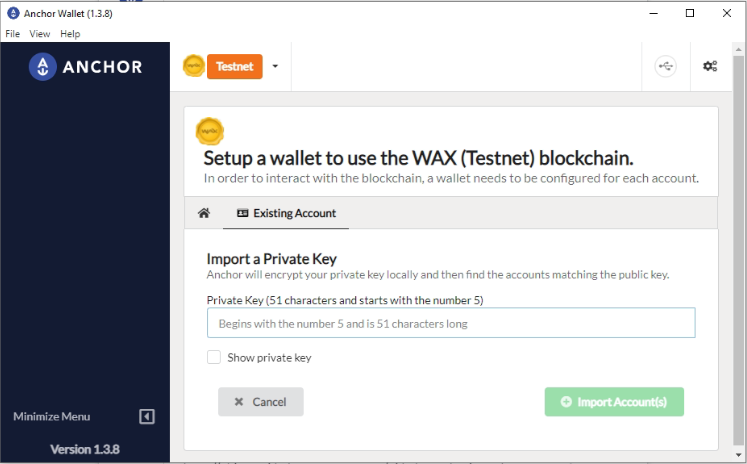
Here we can paste or write in the private-key that we got from the account earlier.
as a standard warning make sure you dont share private keys with anyone you dont trust.
Also not recomended to input the Owner Private key to a wallet*
*Unless you've lost access to your Active Private key.
after inputting your Active private key it should show your account name and @active if you used the Active Private Key.
Check the box for the account your trying to import and then press Import Account(s).
You should be promted to input your password you setup in the start to verify that you want to add this to your wallet.
After this step we have succesfully setup Anchor Wallet and imported the Key to use the WAX Testnet!
WAX Testnet sites and more information can be found
HERE!